

Event planning guide
Event Name Badges: A Practical Check-In and Security Guide
Help guests find the right people and support an organized check-in. Here is how to plan readable badges, define their limits and prepare your event team.
Updated November 12, 2026 · 5-minute read
Start with the event’s access plan
Before choosing badge colors or materials, agree with the organizer, venue and security team on who needs identification and what staff must check. A small reception and a multi-day conference have different needs. The badge should communicate the plan clearly; it cannot replace that plan.
CISA’s Public Venue Credentialing Guide describes credentialing as a managed program, including responsibilities, access requirements and credential checks. Use it as a planning resource with your venue team, rather than treating a decorative badge as a complete security solution.
Design information people can actually read
Keep the hierarchy simple: a prominent name, a plain-language role and the event identifier. Add a date or validity period when it helps staff distinguish the current event. If different groups have different permissions, use the labels approved by the organizer.
- Make roles explicit. “Staff,” “Speaker” and “Attendee” are easier to interpret than unexplained abbreviations.
- Pair color with words. Do not make a colored stripe the only way to understand a role.
- Limit personal information. Do not print home addresses, private phone numbers or other details that people do not need to display.
- Test a full-size proof. Check the smallest text, long names, glare and placement on the clothing people will wear.
For layout ideas, see our employee badge design guide. Keep decorative elements secondary to the information a person needs to read.
Connect badges to a consistent check-in process
Decide how registration records will be checked, who may approve exceptions and who issues badges. Brief the check-in team before guests arrive, and provide a clear contact for questions. Staff should not have to invent an access decision because a name is missing from a list.
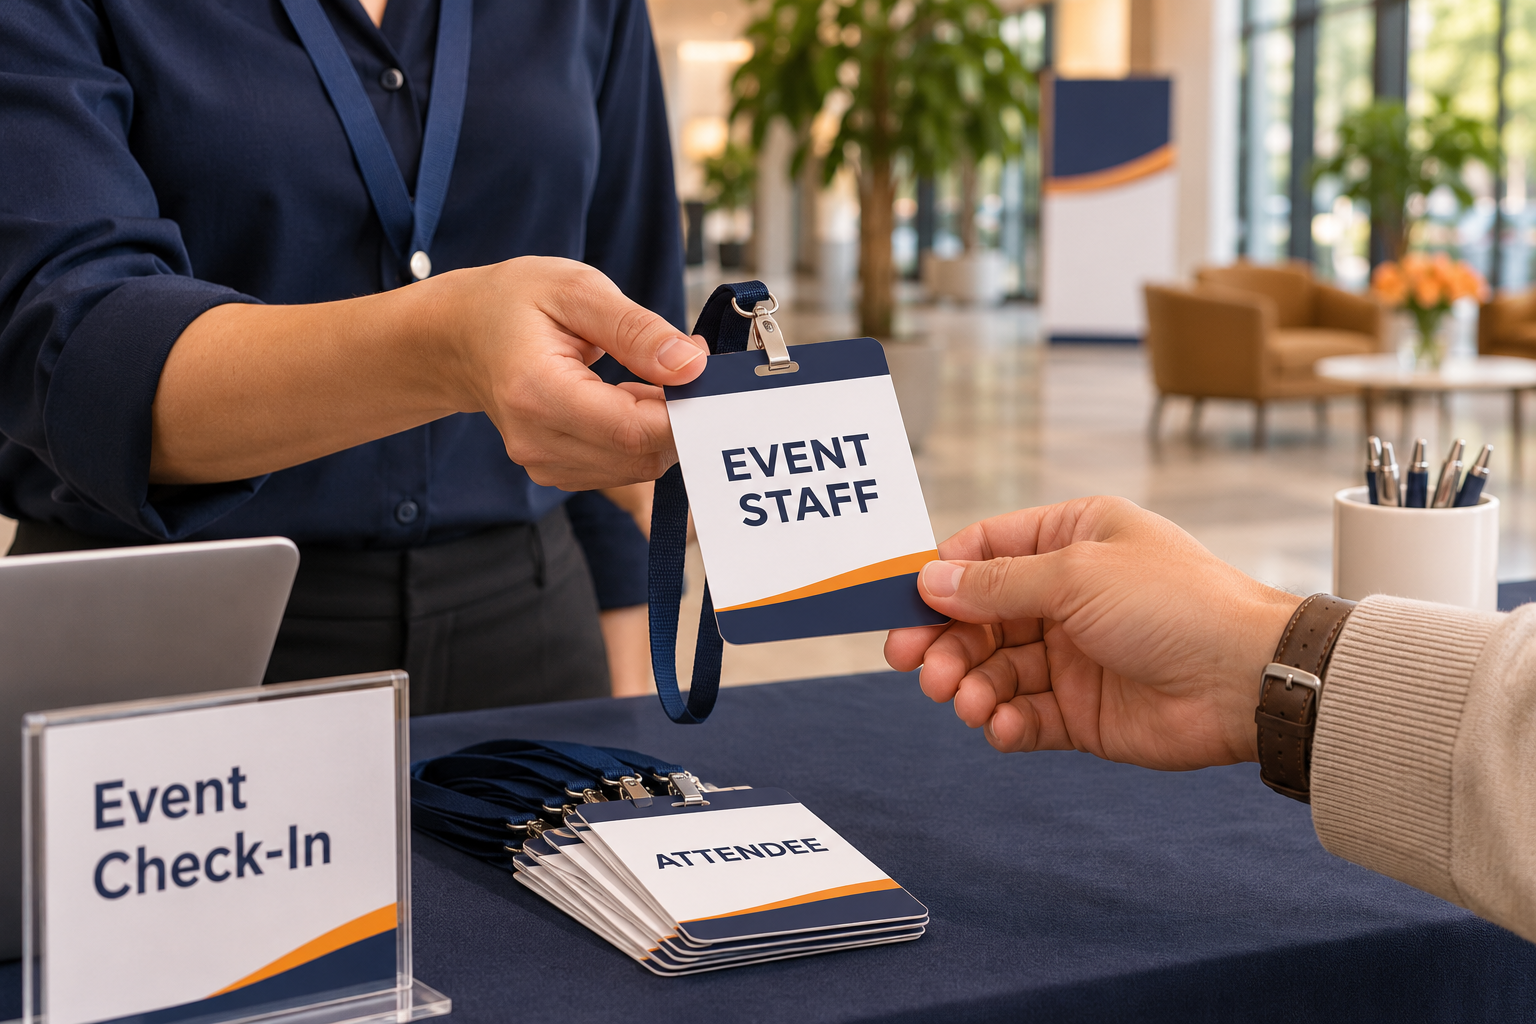
For example, at a conference, the registration desk might issue an attendee badge after completing the organizer’s approved check-in steps. Staff at a restricted area then follow the venue’s verification procedure. The printed badge helps communicate the person’s assigned role; it does not make the verification step unnecessary.
Plan for changes and lost badges
Write down what happens if someone loses a badge, changes roles or leaves the event team. Identify who can approve a replacement and how the event’s records or access system should be updated. Tell staff where to report a problem and how to direct a guest who needs assistance.
Avoid publishing close-up images of active credentials or personal badge information without considering the event’s privacy and security policies. If you need a promotional photograph, use a clearly fictional sample with no working credential data.
Choose the format around the job
A photo can give staff another detail to compare when that is part of the approved process. It is not a guarantee of identity or permission. If you collect photographs, decide how they will be obtained, used, stored and removed under your organization’s policies.
Browse NameTagCountry ID badges when a printed ID format suits your event. Confirm the exact product options before ordering. Do not assume a printed badge includes electronic access control, RFID, credential software or scanning services.
Likewise, a QR code only carries or points to information. Its presence does not make a badge secure. If you use one, the event team needs an appropriate verification system and a way to handle failures or exceptions.
Choose an attachment that keeps the badge visible and suits the wearer’s clothing and activities. Review our magnetic versus pin-back guide before selecting fasteners, including its magnet precautions. For lanyards, follow the venue or employer’s safety requirements.
Before you place the order
- Have the organizer approve names, roles and any access-related labels.
- Proof the layout at actual size with realistic long names.
- Confirm the badge format, attachment, quantities and replacement process.
- Ask for current pricing and production timing for the exact order.
- Allow time for proof approval, delivery, sorting and staff preparation.
Production time and shipping time are separate parts of the schedule. Confirm the expected arrival date before relying on an event deadline; do not assume rush service or a quantity discount is available for every product.
Event badge questions and answers
Does wearing an event badge prove someone is authorized?
No. Authorization comes from the organizer’s approved process and any required checks. A badge is a visual aid within that process.
Should staff and attendees have different badge designs?
Clear role labels can help people find the right person. Use a consistent layout and add words alongside any color coding. Let the organizer decide whether role differences also correspond to access permissions.
Does a photo or QR code make a badge secure?
Neither feature provides security by itself. A photo can support a comparison, and a QR code can support a properly managed verification workflow. Both depend on how the event uses them.
What should happen when a badge is lost?
Direct the wearer to the designated help or registration point. Follow the event’s approved replacement procedure, including any required identity checks and updates to access records.
How early should we order event badges?
Work backward from the event date and include design, proof approval, production, shipping and preparation. Confirm current timing for your exact order before setting the final deadline.