

Custom badge design guide
How to Design Custom Name Tags and ID Badges
A practical path from your first idea to an approved proof—with the right format, clear information and fewer ordering surprises.
Updated November 12, 2026 · 5-minute read
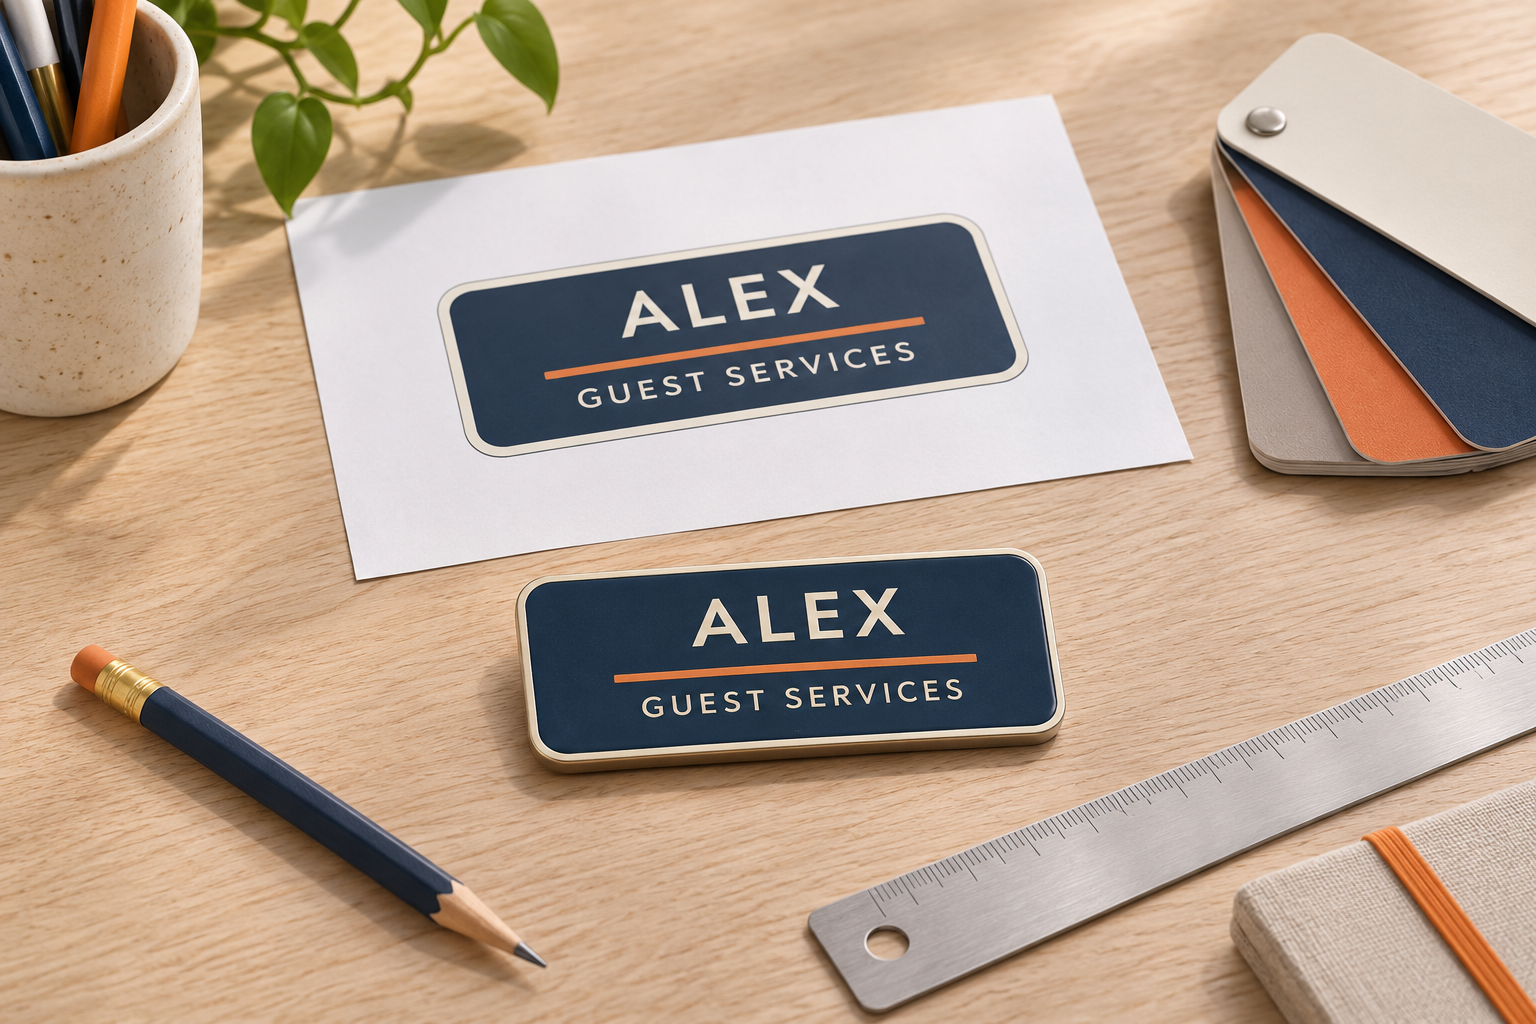
1. Define the job before choosing the look
A small name tag for a front-desk employee and a photo ID for a campus program are different projects. Write a short brief: who will wear it, who needs to read it, where it will be used and what information is necessary.
For a customer-facing name tag, a name and useful role may be enough. An ID program may need a photograph or other approved fields. If the organization expects access control or electronic features, have its technology or security team define those requirements separately. A printed badge alone does not supply those systems.
2. Choose the information people actually need
Put the name first in the visual hierarchy. Add a concise role or department if it helps someone find assistance. Keep the logo recognizable without letting it dominate the available space. A slogan, website address or long list of credentials should earn its place by serving a real purpose.
Agree on first-name versus full-name formatting, role wording and any optional details before collecting a roster. Use only approved personal information. Ask the organization how names, photos and other data should be submitted and stored.
3. Match the product to the artwork and update needs
- Simple single-color artwork: compare standard engraved plastic name tags.
- Multicolor logos or graphics: review full-color plastic options.
- A metal appearance: browse metal name tags and check the selected finish and marking method.
- Names that change frequently: compare reusable badge formats.
- A printed ID-card format: review ID badges and confirm the program’s requirements.
Confirm dimensions, available options and care instructions on the exact product. Magnet, clip and pin-back describe attachments, not the material of the badge face. Our engraving guide explains why a single-color engraved design and a full-color printed design need different artwork decisions.
4. Build a readable layout
Begin with one main type style, a limited palette and clear spacing. Use contrast to separate the text from the background. Avoid shrinking the name to make room for decorative details. Our classic layout guide compares three straightforward arrangements.
Check the design at the intended physical size rather than only enlarged on a screen. Try the longest name and role in the order, then ask someone unfamiliar with the design to read it at a normal conversation distance. Review it on the clothing and under lighting similar to the actual workplace.
For broader readability considerations, consult RNIB’s product design guidance. Do not treat a font choice or visual style as a universal accessibility certification.
5. Prepare the artwork and name list
Use the approved logo version and provide the best original file you have. Ask which file types and artwork specifications the selected product requires rather than assuming a screenshot will reproduce well. Check fine lines, small lettering and color expectations with the production team.
Keep names and roles in a consistent, clearly labeled list. Review spelling, accents, punctuation and capitalization before submission. Include only the data needed for the order and follow your organization’s approved sharing process.
6. Choose and test the attachment
Match the attachment to the wearer, clothing and daily tasks. Check whether the badge remains visible and comfortable while walking, sitting and reaching. A consistent team design can still accommodate appropriate attachment alternatives.
Read our lanyard, clip, magnet and pin-back comparison before finalizing the configuration, including the magnet precautions. Confirm compatibility and availability for the selected badge.
7. Approve the proof and plan the order
Treat the proof as the final checklist, not a quick glance. Review every variable name and role as well as the template. Confirm the size, color treatment, logo, attachment and quantities. If something is unclear, resolve it before approval.
Ask for current pricing for the exact order, including any options and delivery charges that apply. Separate proof approval, production and shipping when planning the arrival date. Do not assume a general rush-delivery promise or a quantity discount applies to every product.
8. Make future additions easier
Save the approved proof, product details and ordering reference in the organization’s normal records. Designate who can approve changes so later hires and replacements follow the same template. Recheck current product availability and options when reordering.
For reusable formats, establish who updates names, collects badges and stores them between uses. Our reuse planning guide explains how to make that process practical.
Custom badge design questions
What is the difference between a name tag and an ID badge?
A name tag commonly emphasizes a name and role for introductions. An ID badge may carry additional approved information, such as a photo, for an organization’s identification process. Neither automatically provides electronic access control.
What should I send with a custom order?
Provide the approved logo, checked names and roles, selected product and attachment, quantities and any deadline. Confirm the required artwork format and submission method before sending files.
Can my logo use several colors?
It depends on the product and marking method. Standard engraved plastic name tags use single-color text and logos; compare full-color printing when several colors or a photograph are essential.
How do I know whether the text is large enough?
Review a full-size proof with the longest names, actual clothing and realistic lighting. Ask another person to read it at the distance where it will normally be used. Simplify the design if key information is hard to read.
Should every employee use the same fastener?
Not necessarily. Keep the visible design consistent while allowing compatible attachments appropriate for individual wearers, clothing, medical-device guidance and workplace requirements.
What determines price and delivery timing?
The exact product, quantity, options, artwork approval and shipping destination can affect the order. Confirm the current total and expected arrival schedule before relying on a deadline.